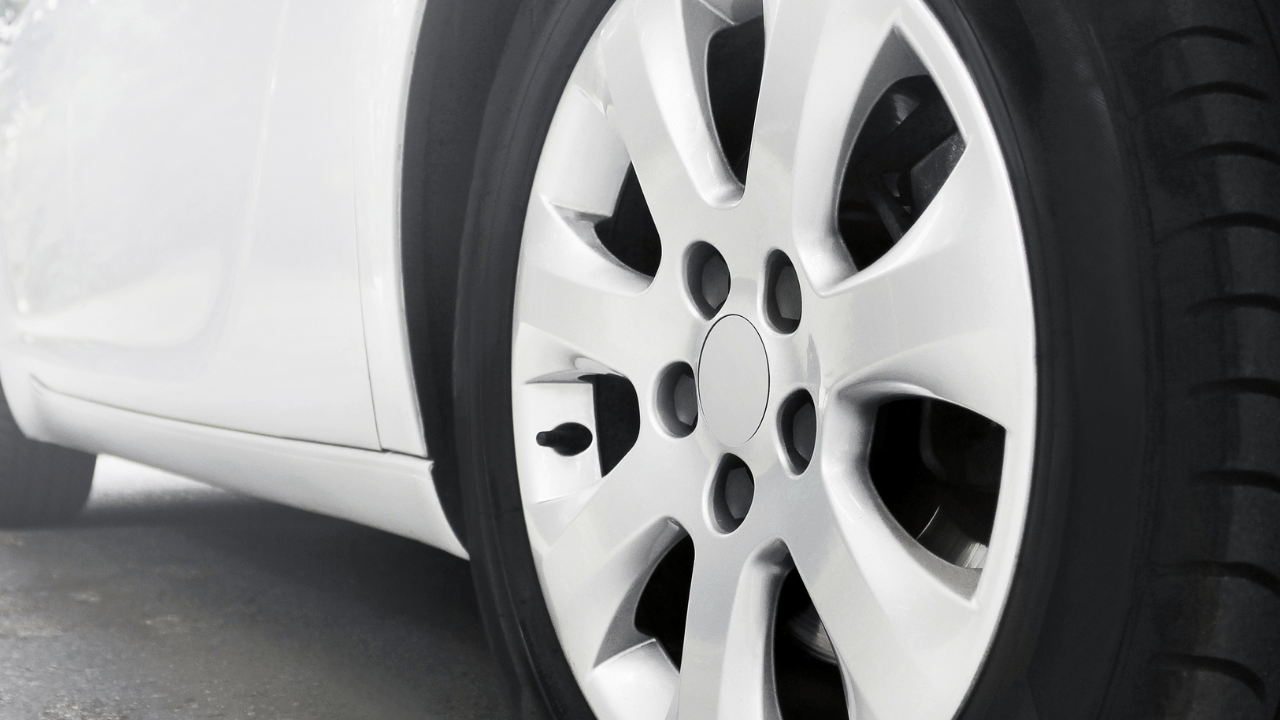
When it comes to upgrading, replacing, or repairing alloy wheels, accurate measurements are essential. Whether you’re a car enthusiast looking to enhance your vehicle’s aesthetics or a professional needing precise fitment, knowing how to measure alloy wheels correctly ensures you get the perfect size for your car. In this guide, we’ll walk you through the key measurements you need to take.
Why Measuring Alloy Wheels is Important
Incorrectly sized alloy wheels can lead to performance issues, safety risks, and improper fitment. Measuring your alloy wheels accurately helps you:
- Ensure compatibility with your vehicle
- Avoid rubbing against suspension or bodywork
- Maintain optimal driving performance
- Achieve the desired look for your car
Tools You’ll Need
Before you start measuring, gather the following tools:
- A tape measure or vernier caliper
- A straightedge or ruler
- A wheel balancing gauge (optional but useful for precise measurements)
Key Measurements to Take
1. Wheel Diameter
The wheel diameter is measured across the face of the wheel, excluding the tyre. Here’s how:
- Lay the wheel flat on the ground.
- Measure from one edge of the rim to the opposite edge.
- Common wheel diameters range from 14 inches to 22 inches.
2. Wheel Width
Wheel width is the distance between the inner edges of the rim where the tyre sits.
- Lay the wheel on its side.
- Measure across the rim from one inner lip to the other.
- Standard widths range from 5 inches to 12 inches.
3. Bolt Pattern (PCD – Pitch Circle Diameter)
The bolt pattern refers to the number of bolt holes and their spacing.
- Count the number of bolt holes (typically 4, 5, 6, or 8).
- Measure the distance from the centre of one bolt hole to the centre of the opposite bolt hole.
- For odd-numbered bolt holes (e.g., 5), measure from the centre of one bolt hole to the back of the farthest bolt hole and use a bolt pattern chart.
4. Offset (ET – Einpresstiefe)
Offset determines how far the wheel sits in or out relative to the hub.
- Look for an ET number stamped on the wheel (e.g., ET35).
- If measuring manually, measure from the wheel’s mounting surface to the centre of the wheel.
- A positive offset means the wheel sits closer to the car; a negative offset pushes it outward.
5. Centre Bore
The centre bore is the hole in the middle of the wheel that fits onto the hub.
- Measure the diameter of the hole using a vernier caliper.
- Ensure it matches your vehicle’s hub size for proper fitment.
Final Checks
Once you’ve taken all the measurements, double-check them against your vehicle’s specifications. If you’re unsure, consult your car’s manual or speak to a professional alloy wheel specialist like Alloy Xpress.
Measuring alloy wheels accurately is crucial for ensuring proper fitment, safety, and performance. Whether you’re replacing a damaged wheel or upgrading for a custom look, taking the time to measure correctly will save you time, money, and hassle in the long run.
For expert alloy wheel repair and refurbishment, contact Alloy Xpress today. We provide high-quality services to restore and enhance your wheels to their best condition!

